Get creative with Epoxy Resin
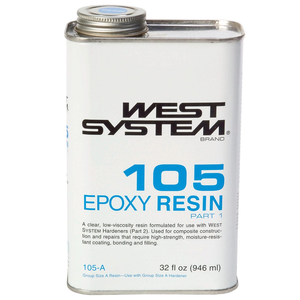
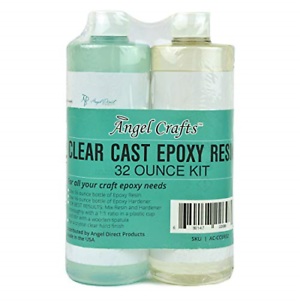
The epoxy trend is ruling the world of art in many countries. Epoxy beginners are confused about using it properly. It’s no longer a secret at all. Here’s the Resin Tutorial to clear all your doubts. The pack comes with Resin and Hardener. Both should be mixed in a 2:1 ratio as directed in the Resin Tutorial. The mixture of two components leads to a chemical reaction that turns the liquid resin gradually to solid form. The Resin tutorial explains the purposes of Epoxy Resin in Art platform. It goes amazing with the wood as well. With Epoxy resin, you can master the world of art.
8 Essentials to craft crystal clear ART
- Epoxy Resin and Hardener
- Syringe
- Molds of any shape
- Disposable latex gloves
- Popsicle stick
- Glitter and tinting agents
- Dried flowers or tiny beads
- A lot of Patience
Safety first!
Always wear gloves, eye protection when handling Resin. Keep the working area clean and tidy because it is more reactive to chemicals and external substances.
Epoxy the Wood
Mix a measured batch of Epoxy first and use a paintbrush to apply seal coat on the wooden surface to diminish the air bubbles on the flood coat. Set for four hours and pour the Epoxy on all sides and edges so they can get the complete coating. Do not miss an area. After the Epoxy sets, sand the tiny knobbles beneath. Use a Dryer or Heat gun to blow the bubbles. You can also use a plumber’s torch.
Resin River Table
Select your pieces of timber, cut them and prepare them properly. Check if the wood is wet. Remove the bark from the edges of the wood, it may leave a fragile spot in the finished piece and then key it with sandpaper. You have to cover the knobs and cracks with a small amount of resin, the initial cure can take about two days. Make some barriers for the resin pour, hence the mixture cannot escape out. The barriers should cover the bottom and ends of the wood. Use hot-glue to stick the polypropylene plastic sheets from moving. The good thing about the sheets is the resin won’t stick to it. Determine the amount of resin you’ll need, tint it as you like it. Mix it and seal the wood preventing air bubbles. Brush a thin layer of epoxy on all the exposed edges of the wood. Put on clamps and use a heat gun. It takes 12 hours at 20 degrees to cure. 2 liters of Resin and one liter of hardener to fill the river halfway. Leave it overnight to partially cure. Come the next day to finish the final pour. It takes 48 hours at a 20-degree temperature. Until it dries thoroughly, keep the surface from dust-free. After two days of hardening, flat finish the surface and use the sander to make it smooth. Polish the Resin to a high gloss to reveal absolute clarity. So what are you waiting for? Go grab a pack of Epoxy resin, well it just costs a few hundred bucks. There are a lot of things you can create with the Epoxy Resin. Create your style of the masterpiece with it.


Recent Posts
- Discover the Charm and Luxury of Dunwoody, GA Real Estate
- Simplifying Technology and Boosting Business: The Power of IT Services and Consulting
- Unlocking the Benefits of IV Therapy: A Game-Changing Service in Atlanta
- The Incredible Job of a Mooresville Electrician
- Welcome to the World of Entertainment: Netflix